
Quick answer: A tumbler that has stopped keeping drinks cold has almost always lost the vacuum between its two steel walls. Test it in five minutes: fill it with just-boiled water, close the lid, and touch the outside of the body. Hot outer wall = vacuum gone. It cannot be repaired. What caused it depends on when it failed: in the first week it is almost always a sealing or weld defect, after a year it is usually a drop. For brands and distributors, the bigger problem is not one bad cup — it is that a standard AQL 2.5 inspection accepts a batch with a real 3% vacuum failure rate about 96% of the time.
We make vacuum insulated drinkware in Yongkang, Zhejiang — tumblers, mugs, bottles and kids cups. This guide covers both sides of the same failure: how your end customer can tell whether their tumbler is actually faulty, and what a buyer should do about it — the root causes, the numbers behind "normal" defect rates, and how to handle a batch that starts coming back.
What "Losing Vacuum" Actually Means
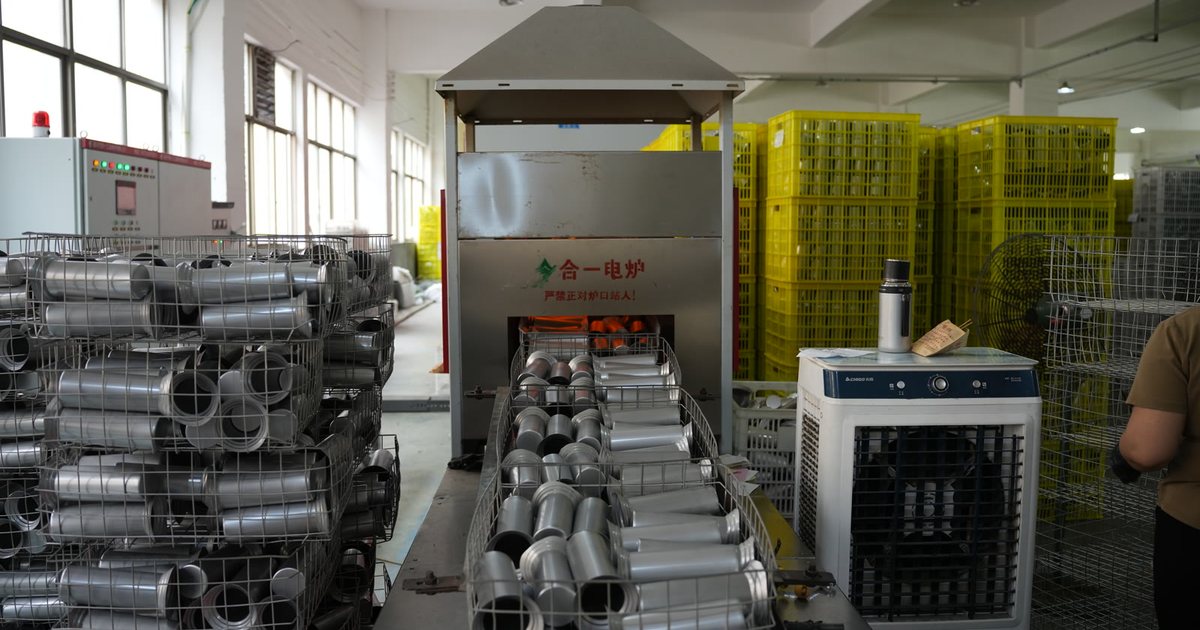
A vacuum tumbler is two stainless steel cups, one inside the other, welded together at the rim. The gap between them — typically 2-4 mm — is pumped down to a high vacuum in a furnace and sealed. With no gas in the gap, heat cannot travel across it by conduction or convection. Only two paths remain: radiation (reduced by copper plating or polishing on premium models) and the solid rim where the walls meet. For the full physics, see our explainer on how vacuum insulation works.
When air gets into the gap, conduction and convection come straight back, and the cup performs like single-wall steel with an air jacket. Here is what that looks like in the numbers:
| 30oz tumbler, lid closed, ~23°C room | Vacuum intact | Vacuum lost |
|---|---|---|
| Water starting at 95°C, after 6 hours | ~60-62°C | Near room temperature within 2-3 hours |
| Outer wall temperature, 5 minutes after hot fill | Room temperature or barely warm | Hot to the touch |
| Ice, filled to the top | Ice still present at 24 hours | Melted within a few hours |
| Outer wall with iced drink, humid room | Dry below the rim band | Sweating over the whole body |
| Sound when tapped | Clear ring | Often duller (unreliable on its own) |
The intact figures are consistent with the heat-retention results we publish in our quality control testing guide. China's national standard for vacuum cups, GB/T 29606-2013, grades heat retention with a fixed hot-water fill and a timed hold, which is why "95°C to after 6 hours" is the language factories use.
4 Tests to Tell If a Tumbler Lost Its Vacuum
These are the tests we give to distributors' customer service teams. None needs equipment beyond a kettle and, for the last one, a kitchen thermometer.
| Test | How to do it | Failed vacuum looks like | Reliability |
|---|---|---|---|
| 1. Hot touch test | Fill with just-boiled water, close the lid, wait 5 minutes, hold the lower body | Outer wall clearly hot | High — the best single test |
| 2. Ice sweat test | Fill with ice water in a normal room, wipe the outside dry, check after 15 minutes | Condensation over the lower body, not just the rim band | High in humid rooms, weak in dry air-conditioned offices |
| 3. Side-by-side test | Fill the suspect tumbler and a known good one identically; compare after 4-6 hours | Large gap in ice left or water temperature | High; rules out "my expectations were wrong" |
| 4. Thermometer test | 95°C water, lid closed, measure after 6 hours | Below ~40°C for a 20-30oz tumbler | High; this is the evidence to ask for in a warranty claim |
What does not prove vacuum failure: a rattle, a dent, or a tumbler that "only" keeps ice for 10 hours in a hot car. A rattle is usually a loose getter tablet or base part inside the cavity and may coexist with a perfectly good vacuum. Run test 1 before you replace anything.
Is It Really the Vacuum? 5 Look-Alike Complaints
When we analyse returned "not keeping cold" units for brand customers, a meaningful share pass the hot touch test. The vacuum is fine; something else is wrong. Separate these before you file a supplier claim:
| Complaint | Real cause | How to tell | Whose problem |
|---|---|---|---|
| "Ice melts by lunchtime" | Straw lid or slide lid left open; heat enters through the opening | Passes hot touch test; performs normally with a closed lid | Listing copy / expectations |
| "Sweats around the top" | Normal conduction through the solid rim | Condensation only in the top 1-2 cm | Nobody — explain it |
| "Cold spot on one side" | Dent pushed outer wall onto inner wall (thermal bridge) | Visible dent at the cold spot; rest of body stays dry | Usually drop damage |
| "Leaks and feels wet outside" | Lid gasket or thread leak, mistaken for sweating | Dry the body, invert the closed tumbler over paper | Lid quality — a real defect, but not vacuum |
| "Stopped working in the car" | 45-60°C cabin temperature and a partial ice fill | Normal results in the side-by-side test | Expectations |
Seeing a spike in "not keeping cold" reviews? Send us the batch codes and a few returned units. We will run the tests above and tell you honestly whether you have a vacuum problem, a lid problem or a listing problem. Contact our QC team →
6 Root Causes, Sorted by When the Tumbler Fails
This is the part most articles skip. The timing of a failure is the best clue to its cause, and it decides whether the claim belongs to the factory or to the user. If you log the purchase date and the batch code for every return, the pattern usually becomes obvious within a few dozen cases.
| When it fails | Most likely cause | What happens physically | Factory defect? |
|---|---|---|---|
| Out of the box | 1. Sealing failure | The sealing alloy did not flow fully over the evacuation hole in the furnace, leaving an open or near-open path | Yes — should have been caught by 100% testing |
| Out of the box | 2. Gross weld leak | Pinhole or incomplete fusion in the rim or base weld | Yes |
| 2-8 weeks | 3. Slow micro-leak | A leak small enough to pass an immediate post-furnace test; air creeps in over days or weeks | Yes — the classic "passed QC, failed in the market" defect |
| 1-6 months | 4. Outgassing without an effective getter | Gas trapped in the steel surface slowly releases into the cavity; no getter, a skipped getter or an exhausted one cannot absorb it | Yes, but hard to prove without cutting the unit open |
| Any time, sudden | 5. Impact damage | Drop on the base edge cracks the weld or dents the outer wall onto the inner wall | Usually no — look for the dent |
| 6+ months, gradual | 6. Corrosion or fatigue at the seal | Repeated hot/cold cycling, dishwasher detergent or trapped moisture under the base cap attacks the sealing point | Depends on the use and the care claims made |
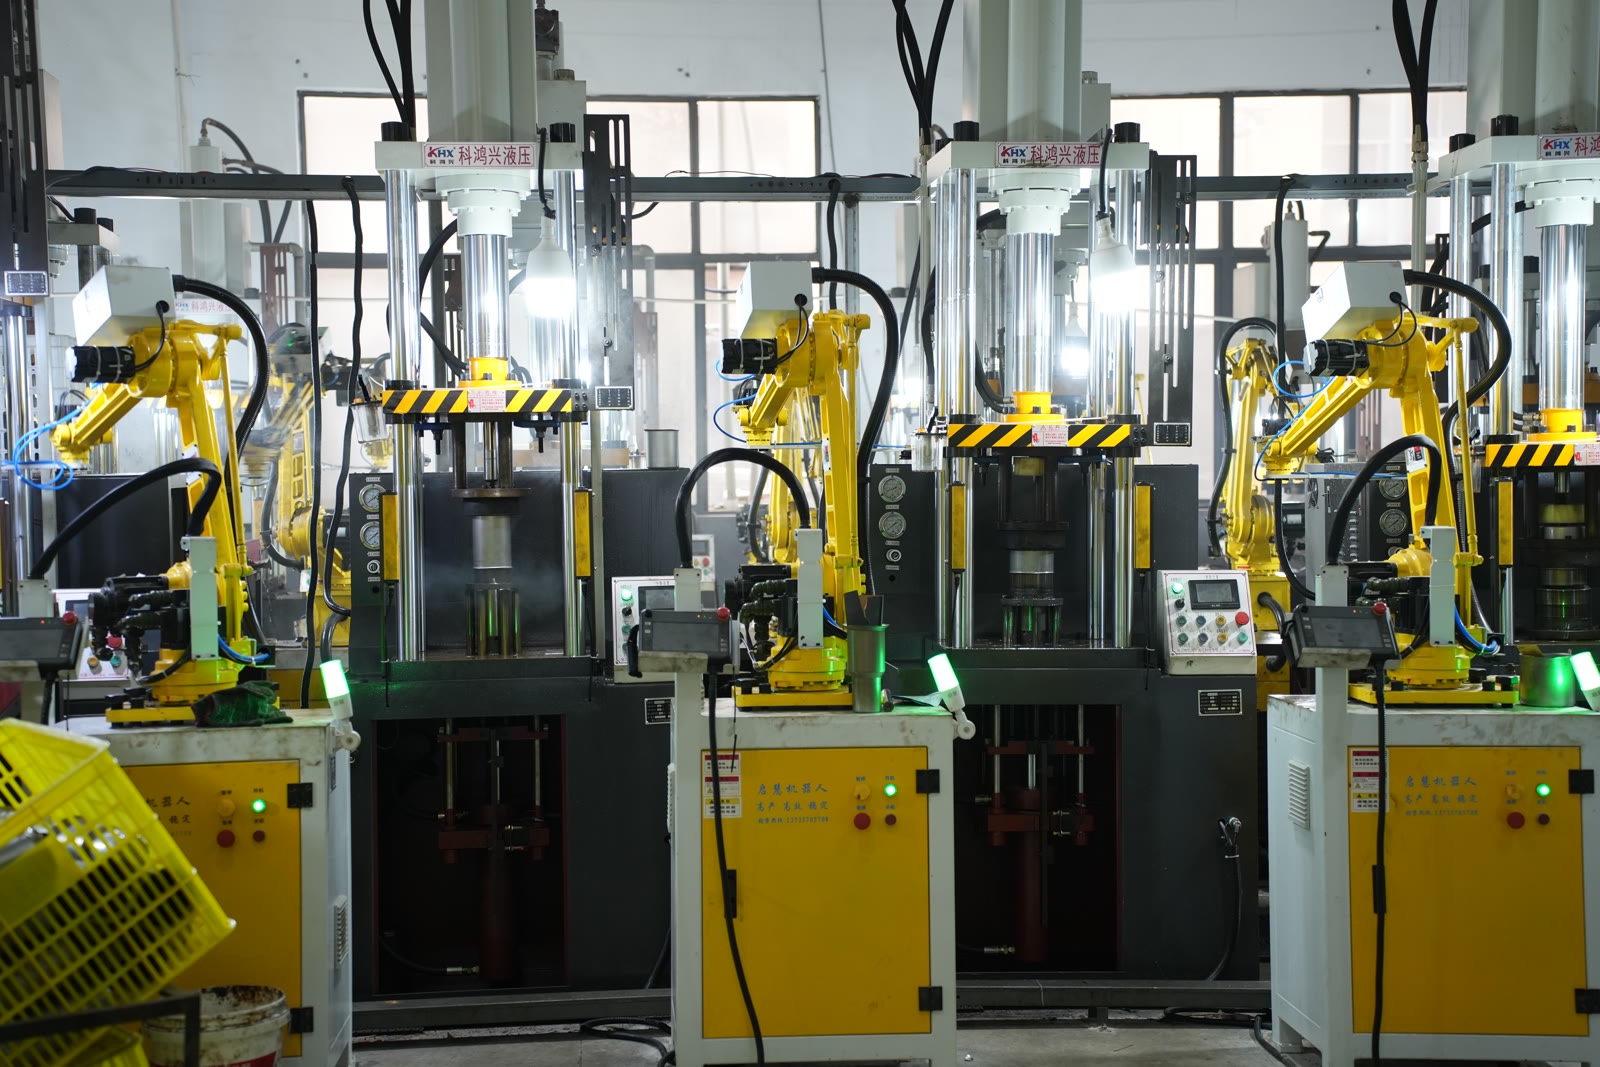
Two causes deserve a closer look because they create most of the trouble at scale.
Slow micro-leaks (cause 3). A body with a large leak fails a hot-water or vacuum test the same day. A body with a tiny leak can pass it — the cavity has not had time to fill. This is why the gap between "our factory tests 100%" and "we still got returns" exists. The fix is a rest period: test the body after sealing, let it stand, then test again before coating. Leaks that were invisible on day one show up by the second test. Ask any supplier how long their bodies rest between the first and final vacuum check. "We test once, right after the furnace" is not good enough.
Getters (cause 4). A getter is a small reactive tablet or coating inside the cavity that absorbs gas released from the steel over the product's life. It is cheap, hidden, and invisible to any inspection short of cutting the tumbler in half — which is exactly why it is the component that gets skipped on price-driven orders. Failures from this cause arrive months later, after the goods are sold, and they tend to affect a whole batch. If your supplier's quote is well below the market for the same size and steel grade, ask directly whether a getter is used and have them cut a sample open for you.
Why Your Pre-Shipment Inspection Did Not Catch It
Most buyers book a third-party inspection to ANSI/ASQ Z1.4 (equivalent to ISO 2859-1), General Inspection Level II, and treat vacuum failure as a "major" defect at AQL 2.5. That feels safe. The statistics say otherwise.
For a lot of 5,000 tumblers, Level II gives a sample of 200 pieces. We calculated the probability that the lot is accepted (binomial model) for different real vacuum failure rates:
| True vacuum failure rate in the lot | AQL 2.5 (accept ≤10 in 200) | AQL 1.0 (accept ≤5 in 200) | Zero tolerance (accept 0 in 200) |
|---|---|---|---|
| 0.3% | ~100% accepted | ~100% accepted | 55% accepted |
| 1% | ~100% accepted | 98% accepted | 13% accepted |
| 2% | ~100% accepted | 79% accepted | 2% accepted |
| 3% | 96% accepted | 44% accepted | ~0% accepted |
| 5% | 58% accepted | 6% accepted | ~0% accepted |
Read the first column again: a lot where 150 out of 5,000 tumblers have failed vacuum sails through AQL 2.5 inspection 96% of the time. Tightening to zero tolerance does not solve it either — a genuinely good 0.3% lot then gets rejected almost half the time, which pushes suppliers to hide failures rather than report them.
The conclusion we give every customer: vacuum integrity cannot be sampled into a shipment. It has to be tested on every body on the line, twice, with records. The pre-shipment inspection then does two jobs: it hot-tests its sample as an audit, and it checks the line's 100% test log for that batch. If the log shows a rejection rate far above what the inspector finds, or no rejections at all, ask questions before you pay the balance.
The Cost of a 3% Failure Batch
A vacuum failure is one of the most expensive defects you can ship, because it is discovered by the end customer, after sale, usually after a review has been written. An illustrative example for a DTC or marketplace brand — replace the assumptions with your own numbers:
| Line item (5,000 pcs, 3% failure = 150 units) | Assumption | Cost |
|---|---|---|
| Replacement units (2 in 3 customers take a replacement) | 100 units at $5.00 landed | $500 |
| Shipping replacements to customers | 100 parcels at $7.00 | $700 |
| Customer service handling | 150 claims, 15 minutes each at $20/hour | $750 |
| Refunds instead of replacements (1 in 3 customers) | 50 units at $29.99 retail | ~$1,500 |
| Direct cost | ~$3,450, or about $0.69 on every unit sold |
That $0.69 per unit is often more than the price gap between a cheap quote and a properly tested one. And the table leaves out the costs that cannot be reclaimed: one-star reviews that stay on the listing and a lower conversion rate on the next 5,000 units. That is why we tell buyers to compare suppliers on delivered failure rate, not unit price. Our landed cost guide shows where these numbers fit in a full cost model.
The Returns Playbook: Handling a Batch That Starts Failing
When complaints start, most brands react one customer at a time. Handle it as a batch problem instead:
- Capture four facts on every claim: batch code from the base, purchase date, a 20-second hot touch test video, and a photo of the base and any dents. Without the batch code, nothing below works.
- Log claims by batch, not by SKU. Vacuum problems cluster in specific furnace loads and specific weeks. A blended 1.2% failure rate across your inventory can hide one batch at 6% and four batches at 0.1%.
- Plot time-to-failure. Use the root-cause table above. Claims bunched in the first 8 weeks from one batch point to sealing or micro-leaks. Scattered claims with dents point to drops.
- Hold and re-test unsold stock from the suspect batch. Hot touch test 100% of the units still in your warehouse. It costs a day of labour and stops more failures from shipping.
- Send 10-20 failed units to the factory for cut-open analysis. Cutting the base off shows whether the sealing alloy flowed, whether a getter is present, and where the weld failed. This turns an argument into evidence.
- Settle against the contract, then fix the process. Replacement stock or credit is the remedy for this batch. A written corrective action — longer rest period, furnace profile change, weld inspection — is the remedy for the next one.
What to Write Into Your Purchase Order
All of the above only works if it is agreed before production. These are the clauses we recommend buyers ask for — from us or from any other supplier:
| Clause | Suggested wording (adapt to your volume) | Why it matters |
|---|---|---|
| 100% vacuum testing | Every body tested after sealing and again after a rest period of at least 24 hours; test records kept per batch for 24 months | Catches slow leaks that a single test misses |
| Batch traceability | Laser or printed batch code on each base identifying the production date and line | Makes every other clause enforceable |
| Failure threshold | Verified in-warranty vacuum failures above 0.5% of a batch trigger replacement or credit for all failed units in that batch | Sets a clear, measurable line |
| Claim window | 12 months from delivery to your warehouse | Covers getter and micro-leak failures that appear after sale |
| Evidence standard | Hot touch test video or 6-hour thermometer reading plus base photo | Avoids shipping every failed unit back |
| Failure analysis | Factory cuts open and reports on up to 20 returned units per batch claim | Separates manufacturing defects from drop damage |
| Exclusions | Visible impact dents, and use contrary to printed care instructions | Fair to the factory, but narrow enough to be meaningful |
A factory that will not put its own vacuum testing in writing is telling you something. The same goes for the batch code: it costs a few cents per unit on the laser marking station and it is the single most useful thing you can have when a problem appears. For the rest of the order setup, see our first-order guide and our breakdown of factory certifications and audits.
Care Instructions That Reduce Returns
Some "defects" are prevented on the packaging insert. For vacuum insulated products, these lines measurably reduce complaints:
- "Keep the lid closed for maximum retention." The lid is the largest heat path on a tumbler. Say it on the listing, not just the insert.
- "Do not freeze, microwave or put on a stove." Freezing liquid inside can deform the inner wall; heating on a stove can damage the seal.
- "Hand wash recommended" unless you have test data behind a dishwasher-safe claim. See our stainless tumbler cleaning guide for care wording your customers will actually follow.
- "If the outside feels hot with a hot drink inside, contact us." Teaching the touch test on the insert turns an angry review into a warranty ticket.
Related Guides
- How Does Vacuum Insulation Work? The Science Explained
- Tumbler Quality Control: How Chinese Factories Test Drinkware
- Stainless Steel Tumbler Manufacturing Process: Factory Tour
- How to Keep Ice from Melting Longer: Test Results
- Drinkware Compliance: FDA, LFGB, Prop 65 & PFAS Test Costs
- Tumbler MOQ & First Order from China, Step by Step
Buy the Failure Rate, Not Just the Unit Price
Every vacuum tumbler looks identical on arrival. The difference between a good batch and a bad one only shows up weeks later, in your returns queue. So the questions worth asking a supplier are not about finish or colour. Ask how many times each body is vacuum tested, how long it rests between tests, whether there is a getter, and whether they will put a batch code on the base and a failure threshold in the contract.
We manufacture car tumblers, powder coated tumblers, vacuum office mugs, outdoor bottles and 316 stainless kids cups, with MOQs from 100 pieces. Tell us your SKU and volume, and ask us to walk you through our vacuum testing and batch coding with the quote.